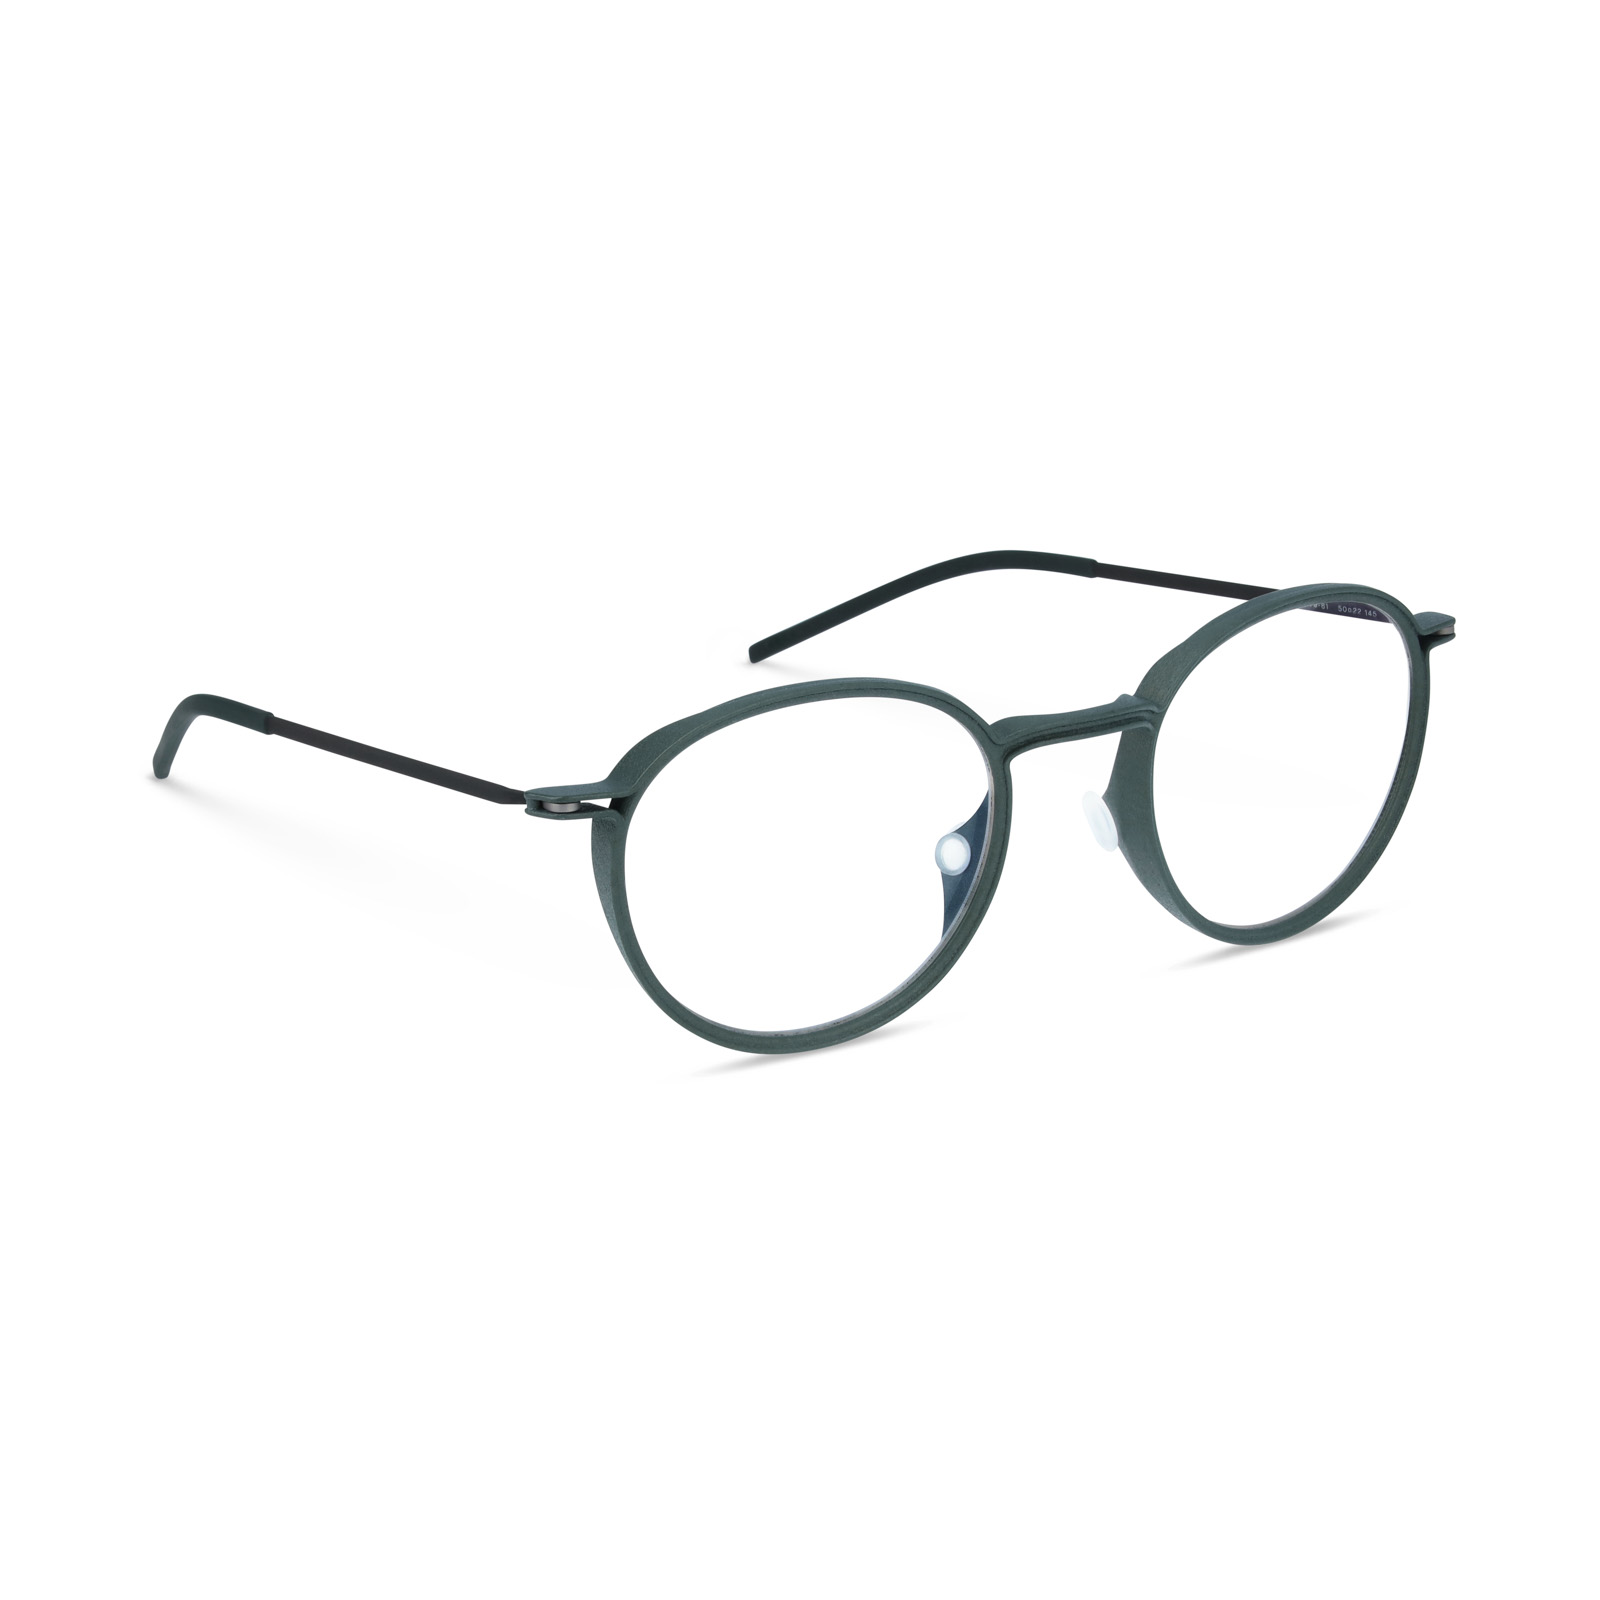
QUANTUM HIGH COLLECTION


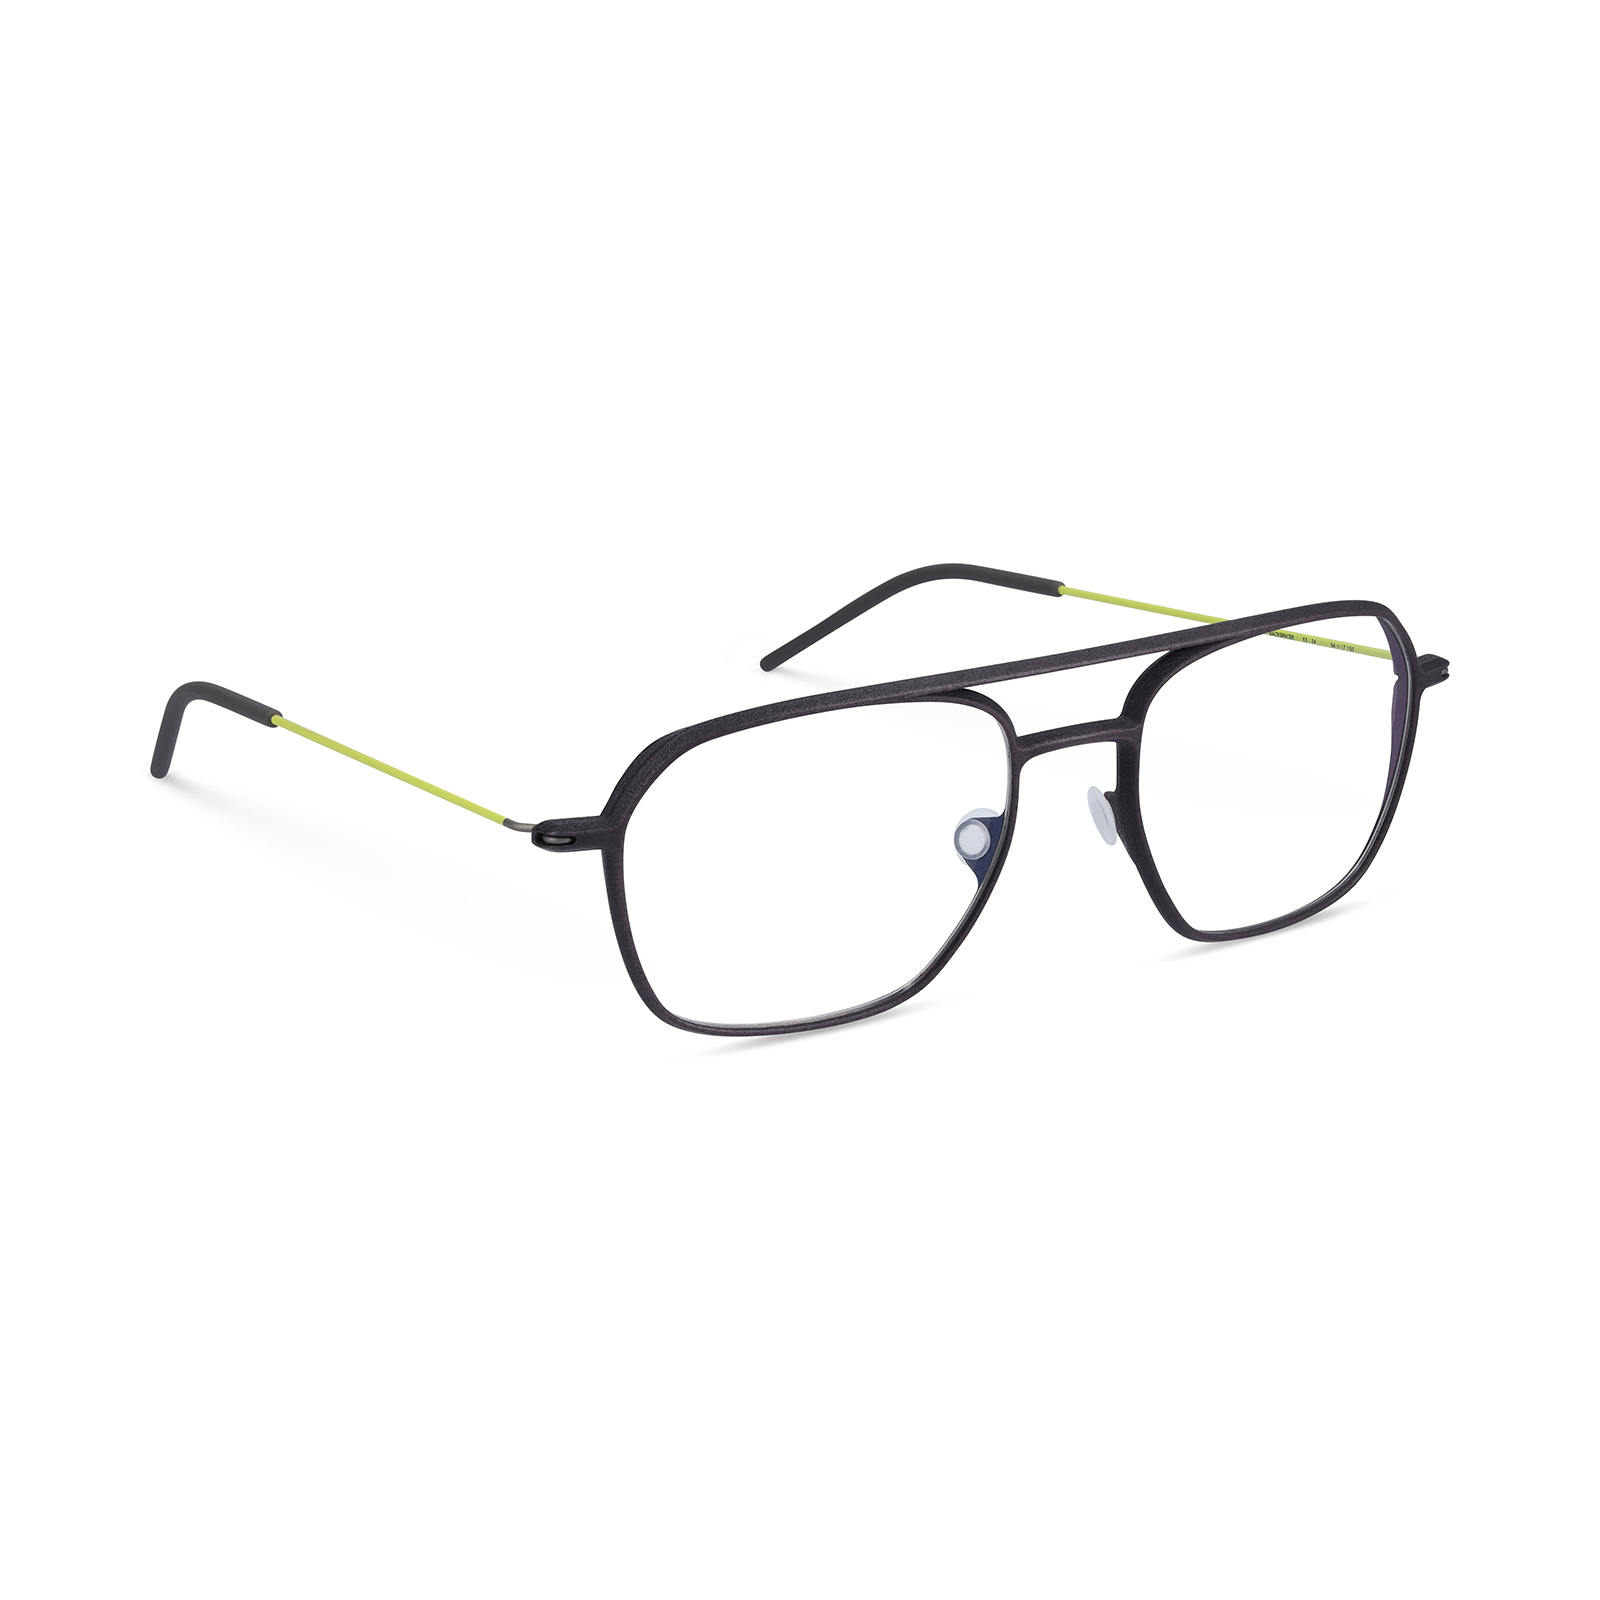
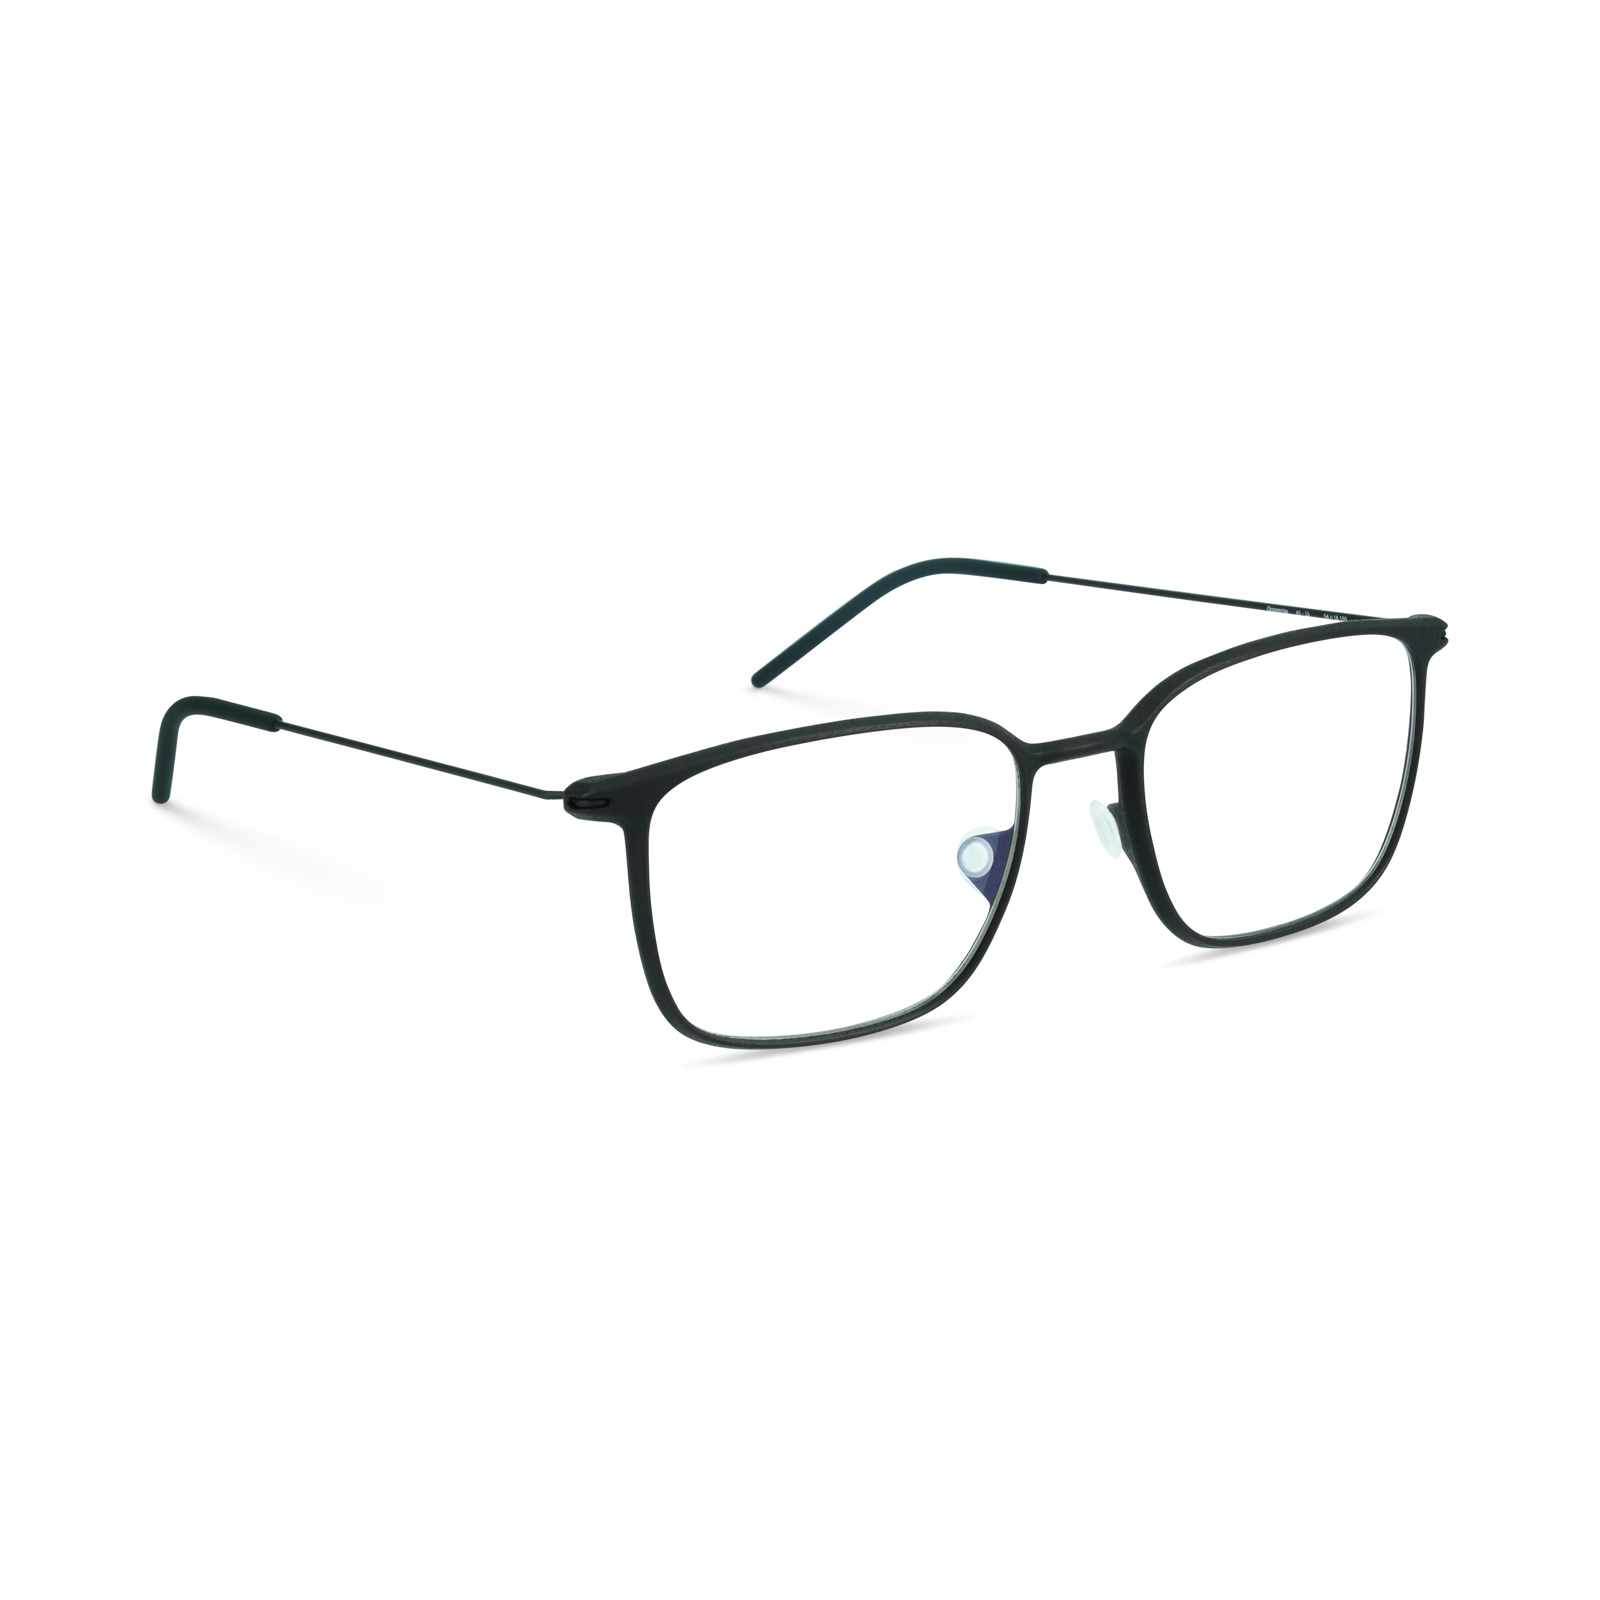
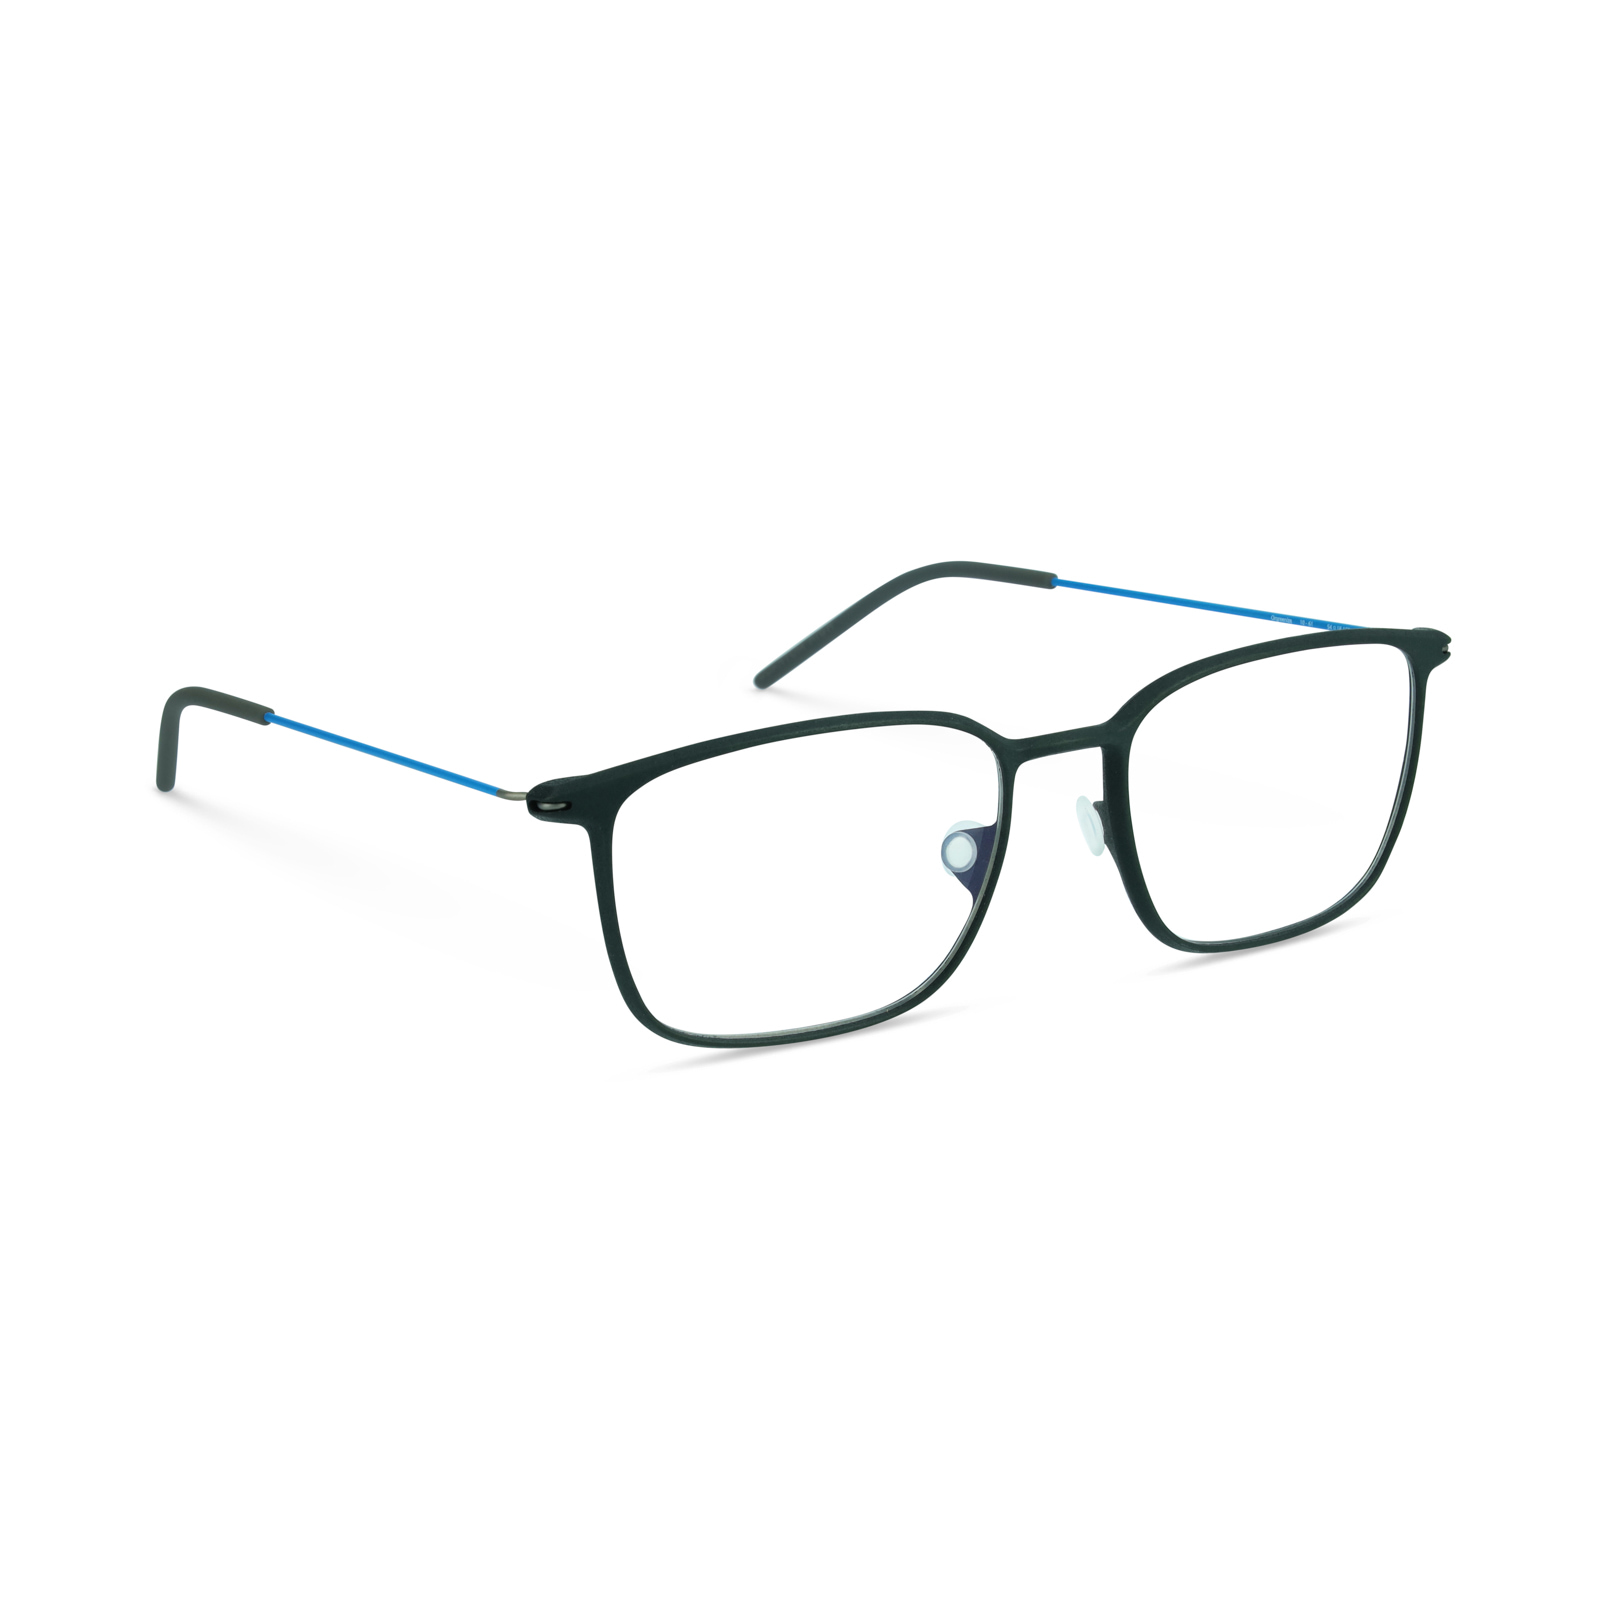
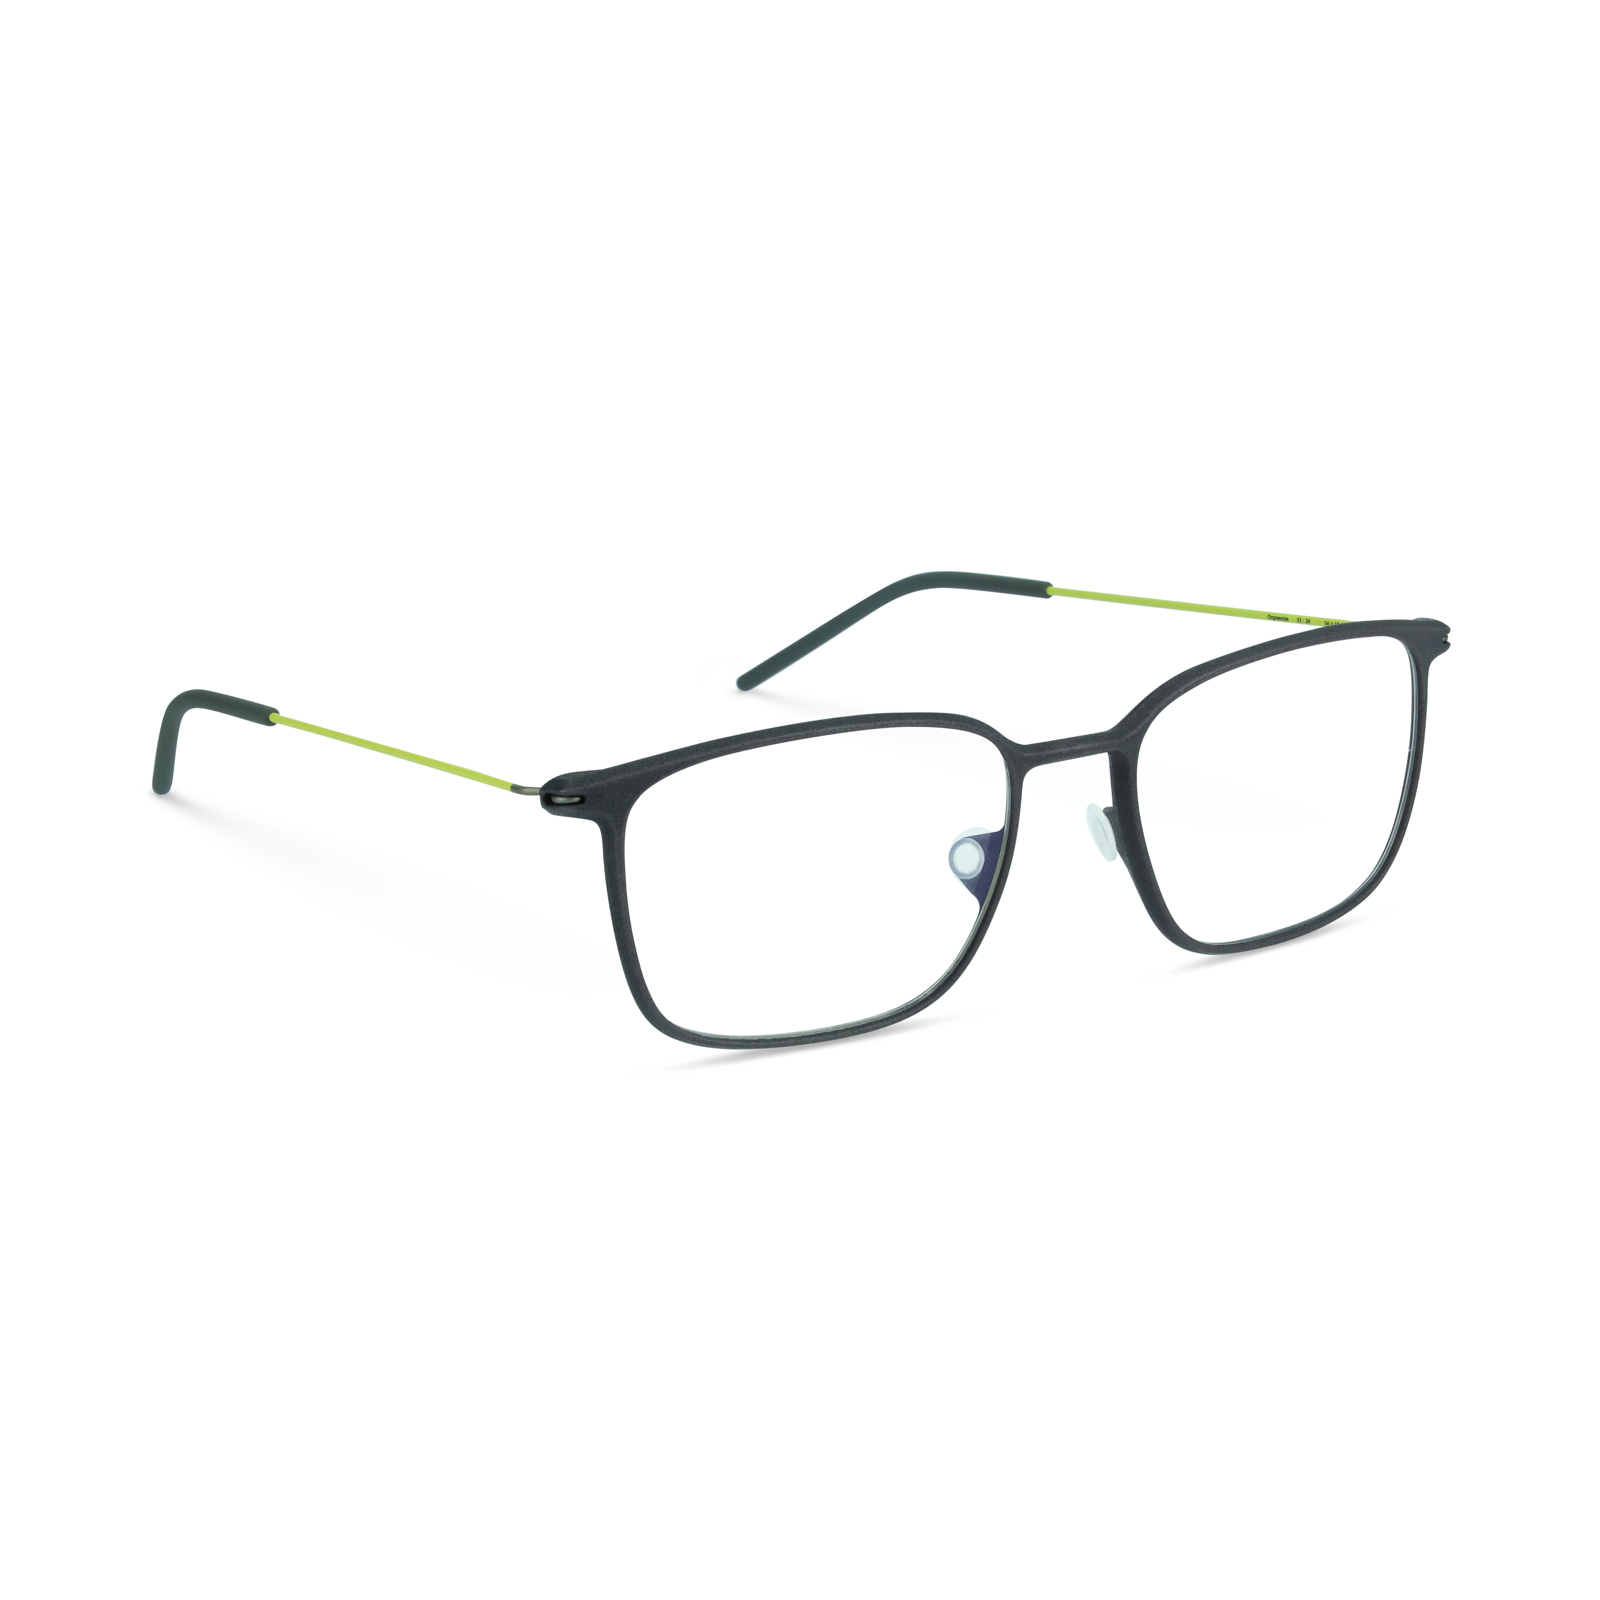
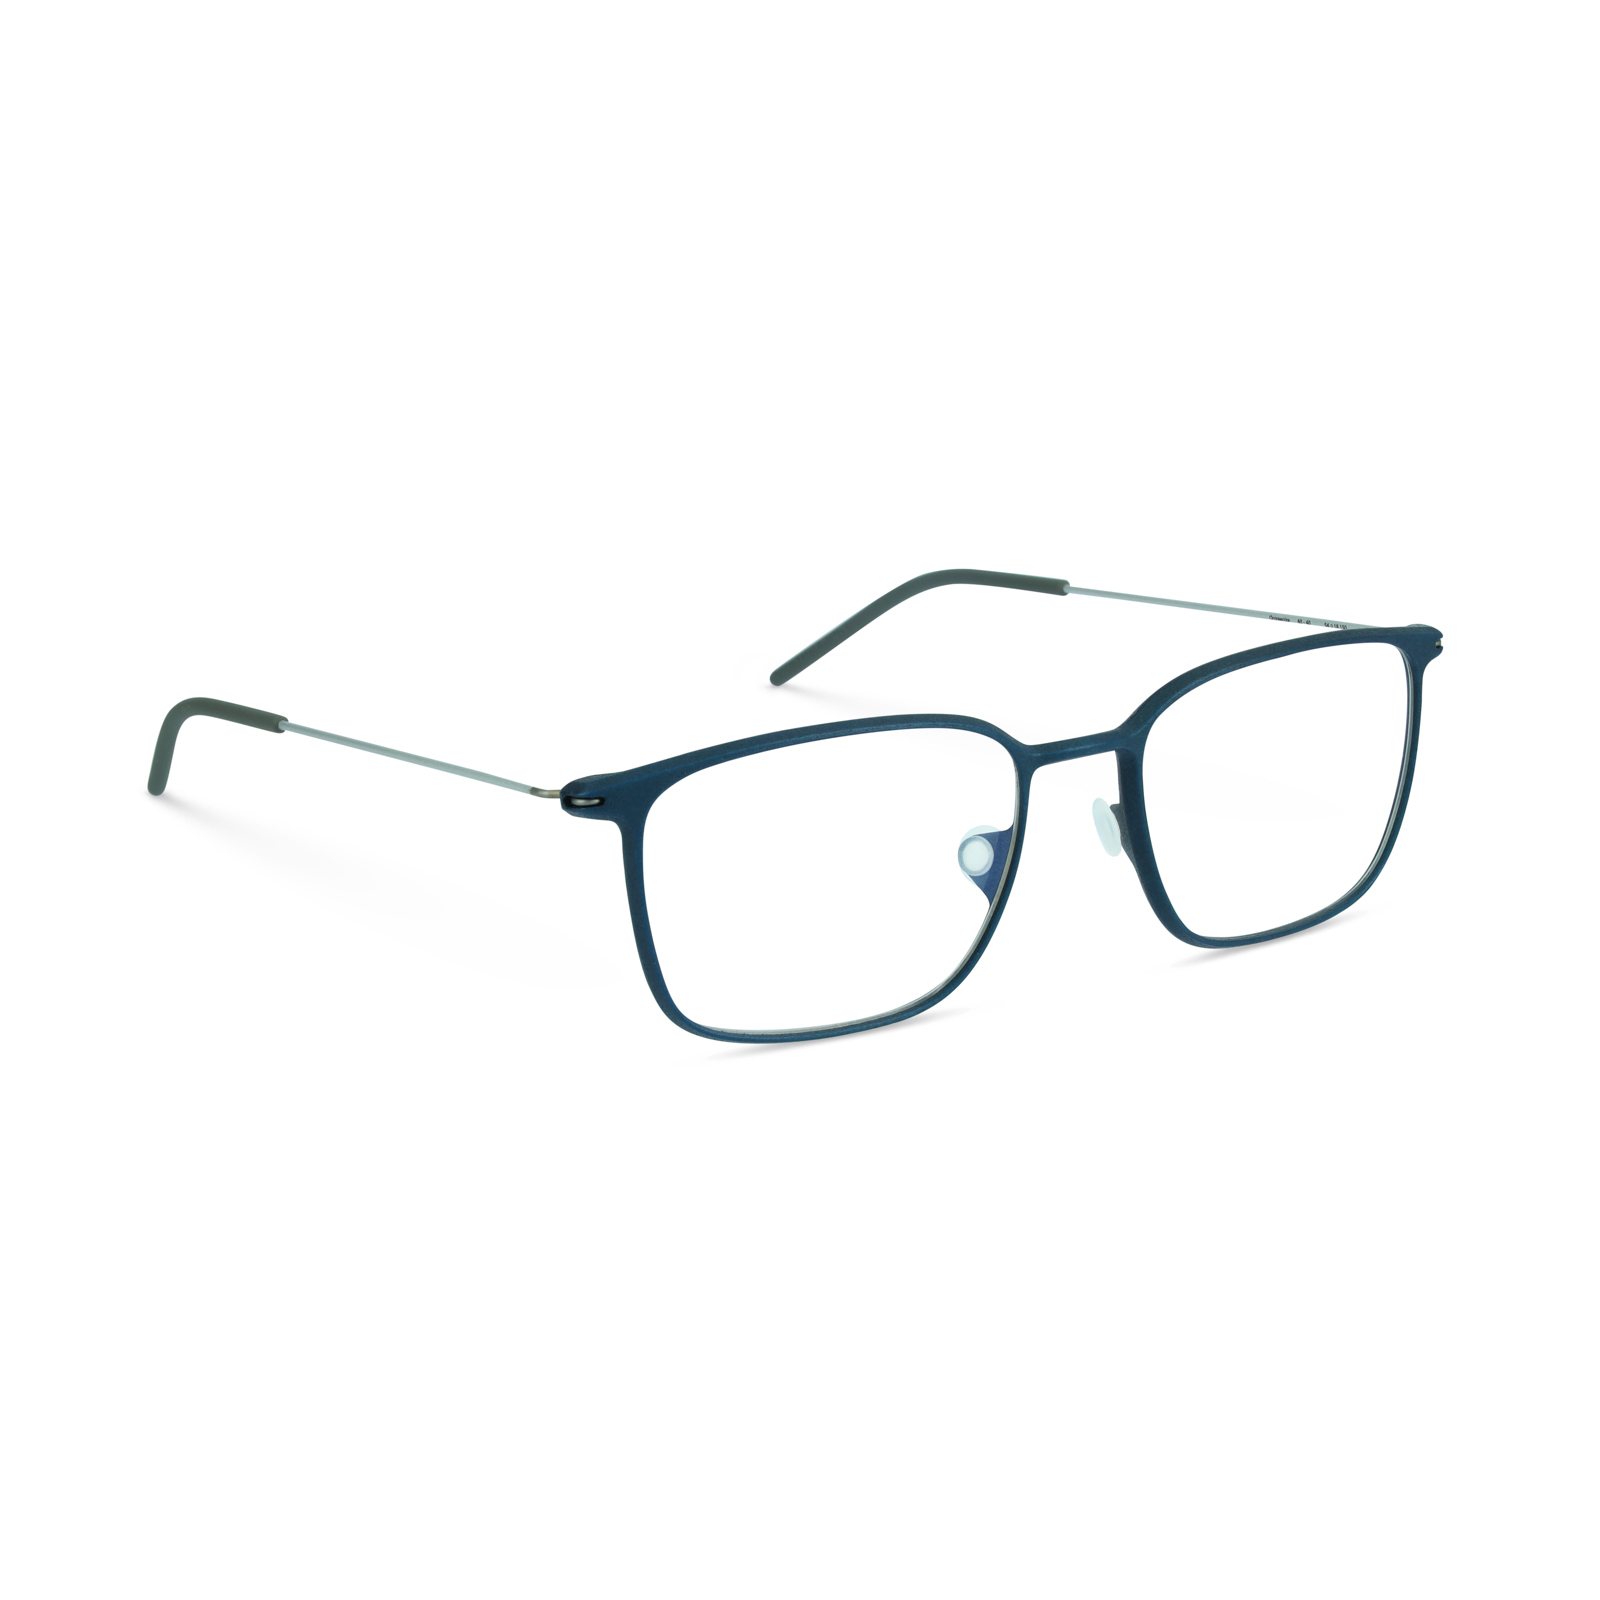
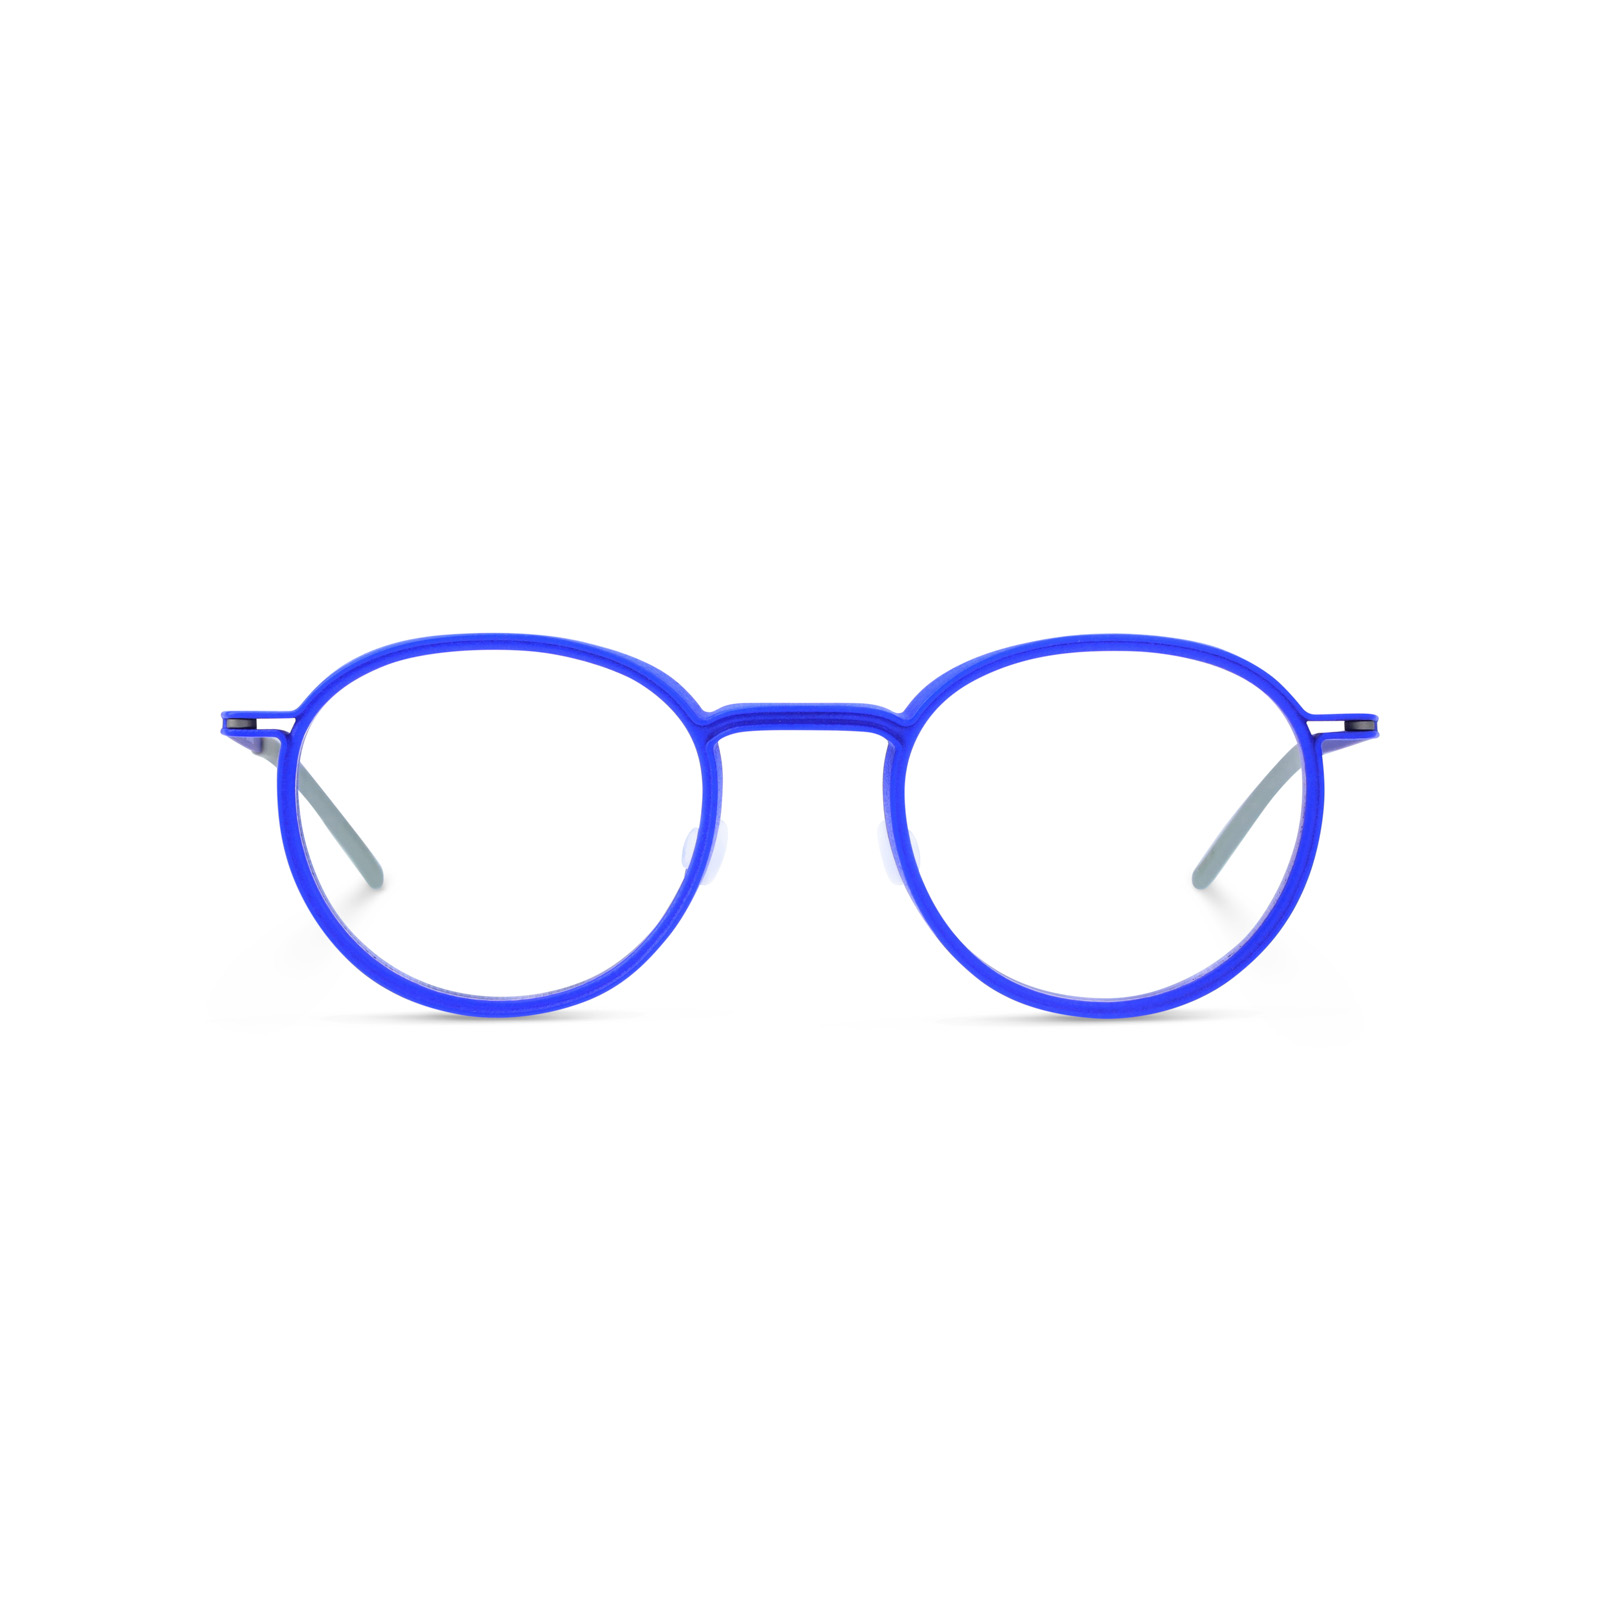
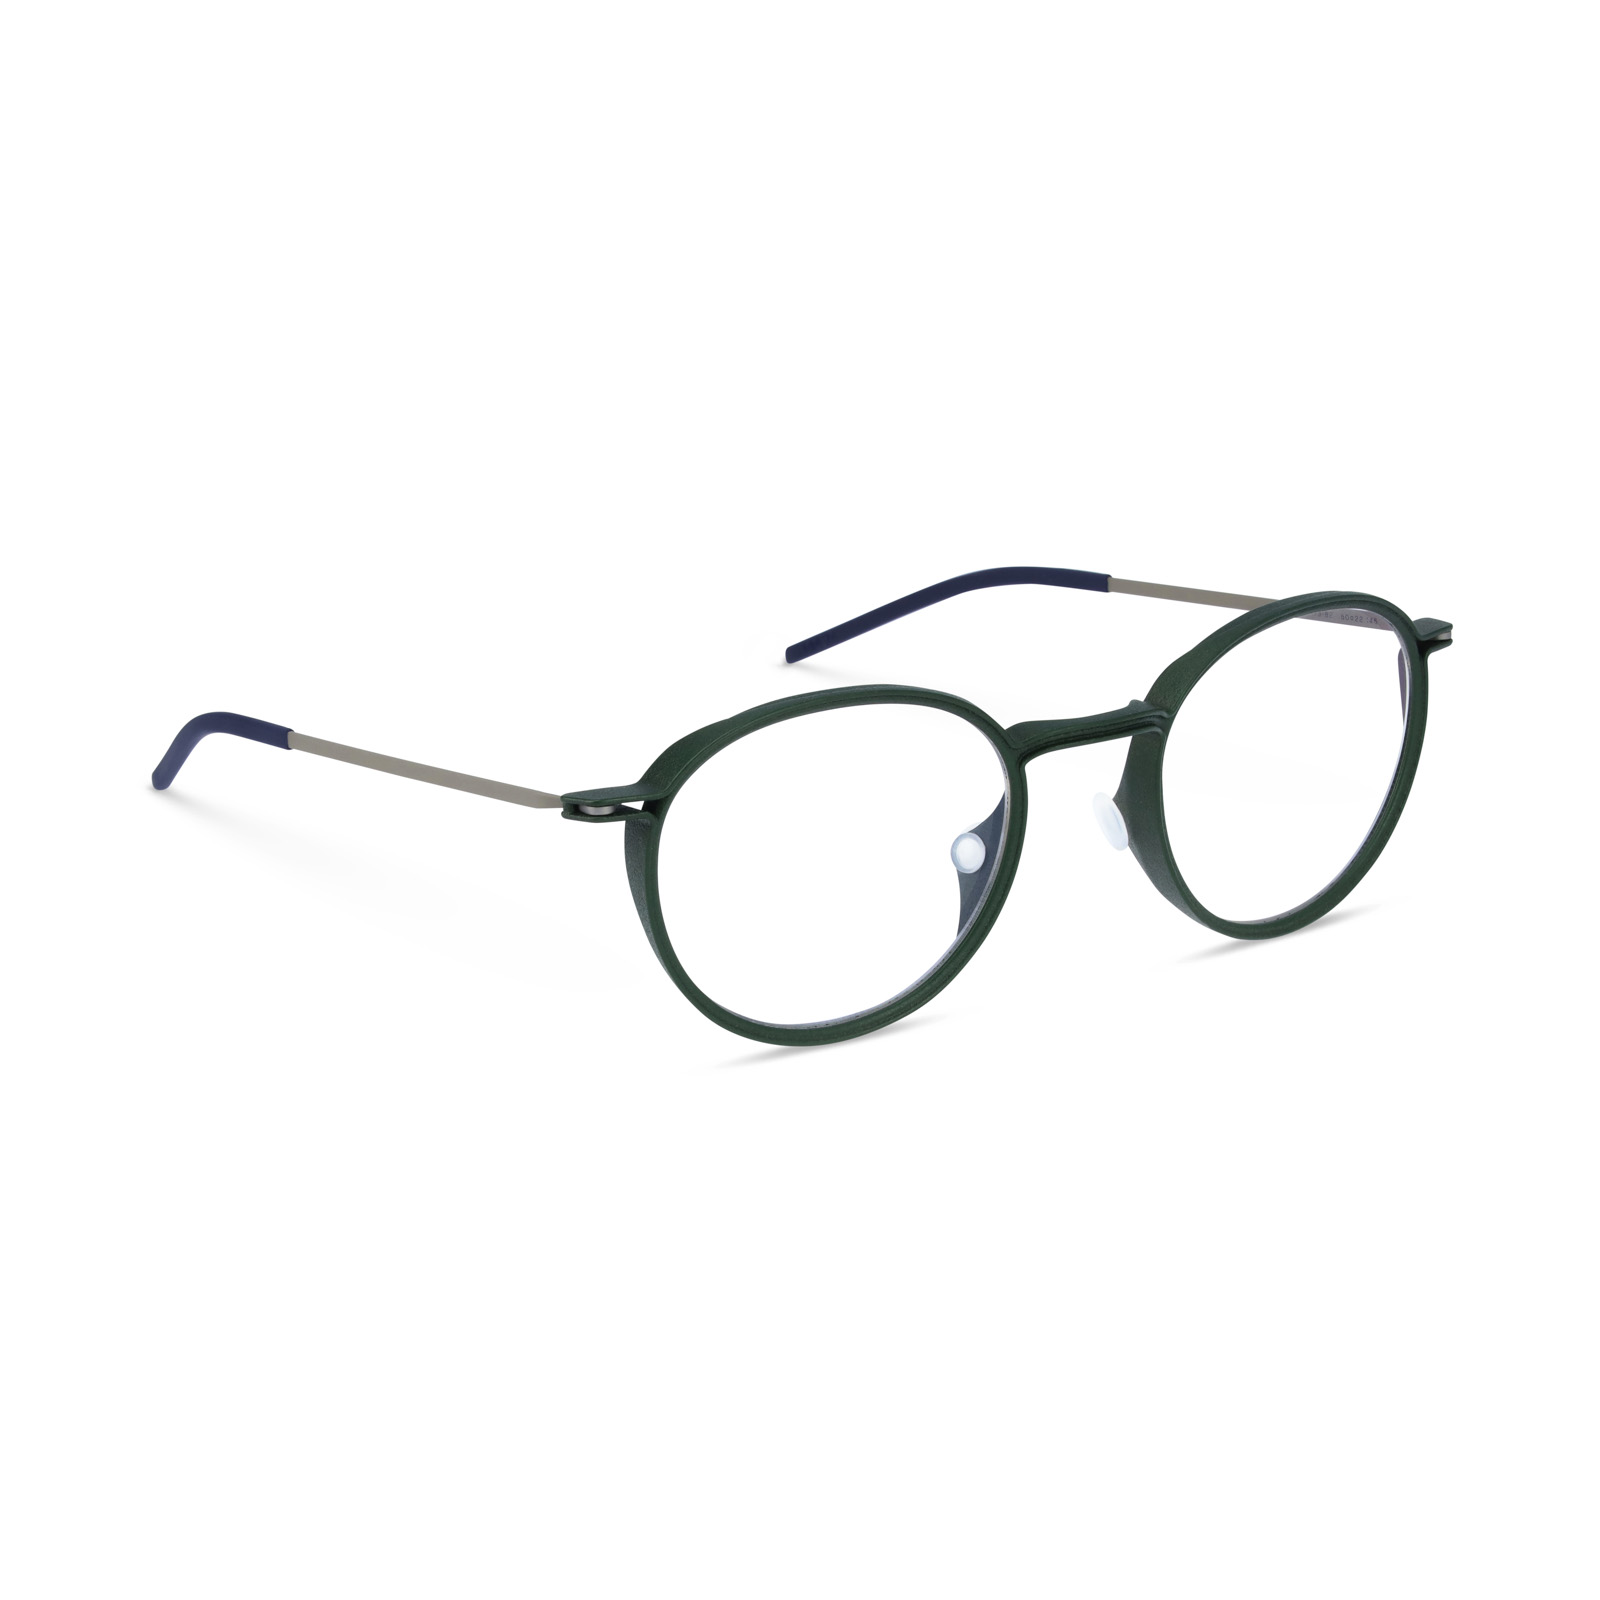
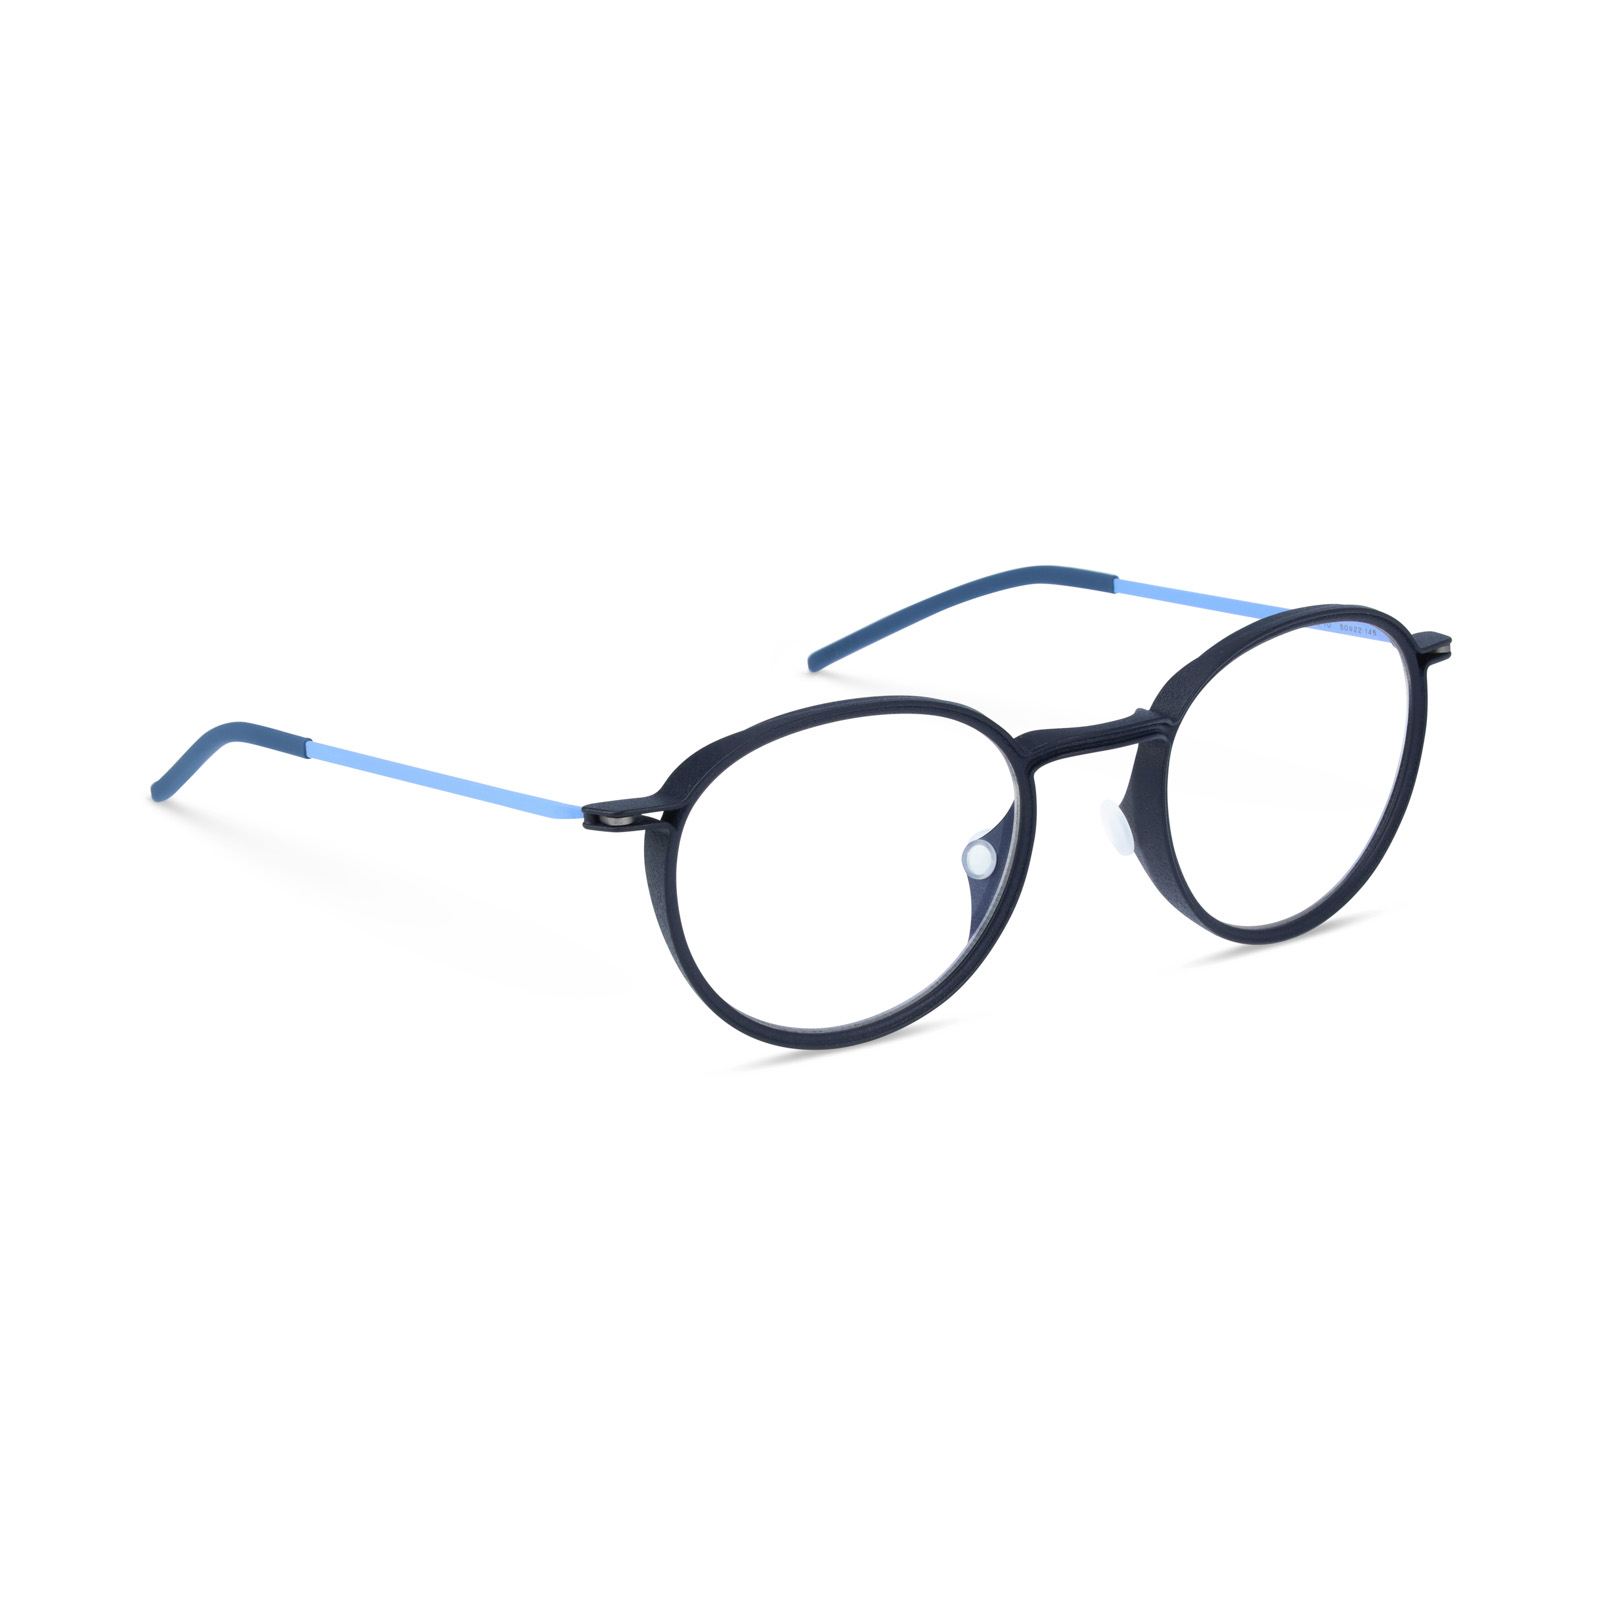
3D printing stand for design freedom as complex shapes and striking structures previously cost- prohibitive or just impossible to produce using traditional techniques, suddenly become possible. The technology offers an enticing opportunity to design frames that function differently. that change wearer experience and offer enhanced comfort and fit. The collection sees 3D printed polyamide fronts paired with 1.2mm wide beta-titanium temples using an innovative in-house hinge design. Mixing a muted palette for the textured polyamide with a touch of vibrancy on the temples creates a series of unique color combinations and a sensory juxtaposition in both aesthetics and feeling.
FUTURE VIEW
QUANTUM HIGH's refined expression and lightness are essential components in making the range of ultra-lightweight frames part of our most comfortable collection to date. The new color identities include a muted palette, adding a touch of vibrancy on the temple to create a series of unique color combinations.



COMFORT MEETS STRENGTH AND AESTHETIC
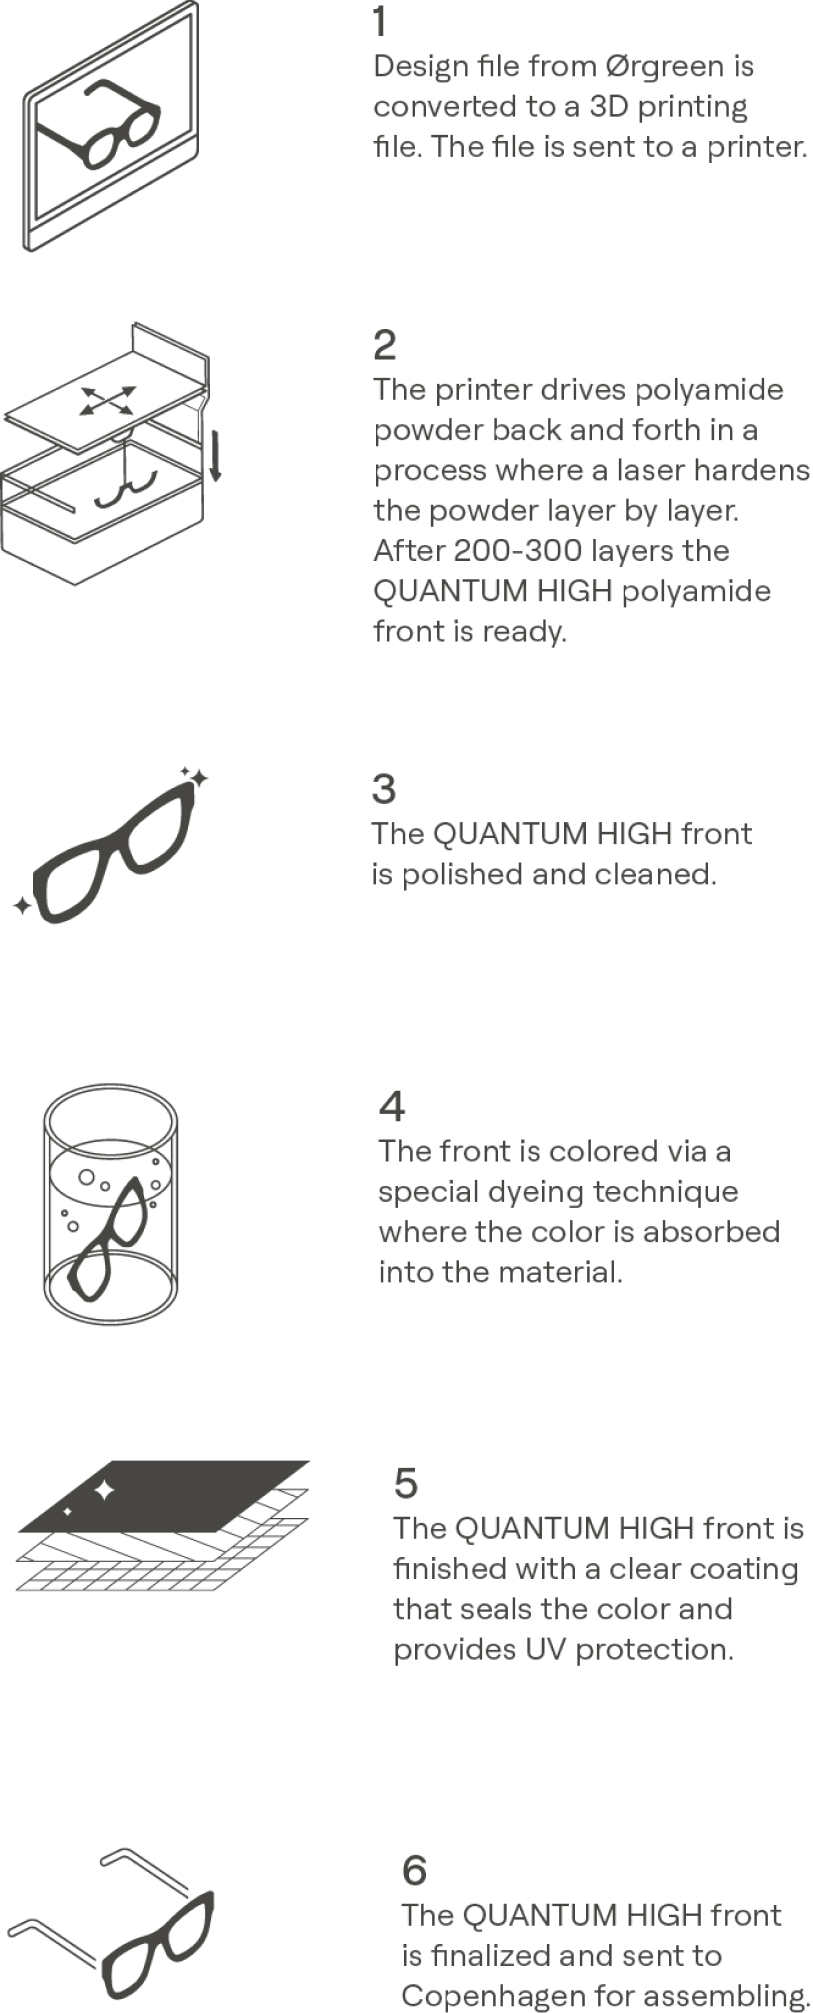
Polyamide (SLS) is an exceptionally versatile, strong, and flexible material. It can resist a small degree of impact and pressure when being manipulated. The surface has a sandy, granular look, and is slightly porous. The color palettes and finishing options make it possible to achieve the high-end look and feel with 3D printing that we further leverage to create the unique Ørgreen color scheme. It’s a material perfect for creating functional models – delivering extensive freedom of design that in the case of QUANTUM HIGH allowed our design team to rethink the overall construction of the frame and effectively eliminate extraneous components such as screws and bolts.





technical information
TEMPLE ADJUSTMENT The beta-titanium wire temple (diameter 1.2 mm) can be easily adjusted in all directions:
- B) TEMPLE OPENING
- C) INCLINATION
- D) TEMPLE END
- - The kinked bend behind the end piece is the holding point for adjustment B and C and allows good handling with or without a plier.
- - For shortening the temple remove the silicone end-tip and clip off a few millimetres of the wire temple.
- - Round off the sharp edge end and put the silicone end-tip back on.
- - Avoid bending with uncoated pliers due to scratches and color chipping.

LENS EDGING INSTRUCTIONS
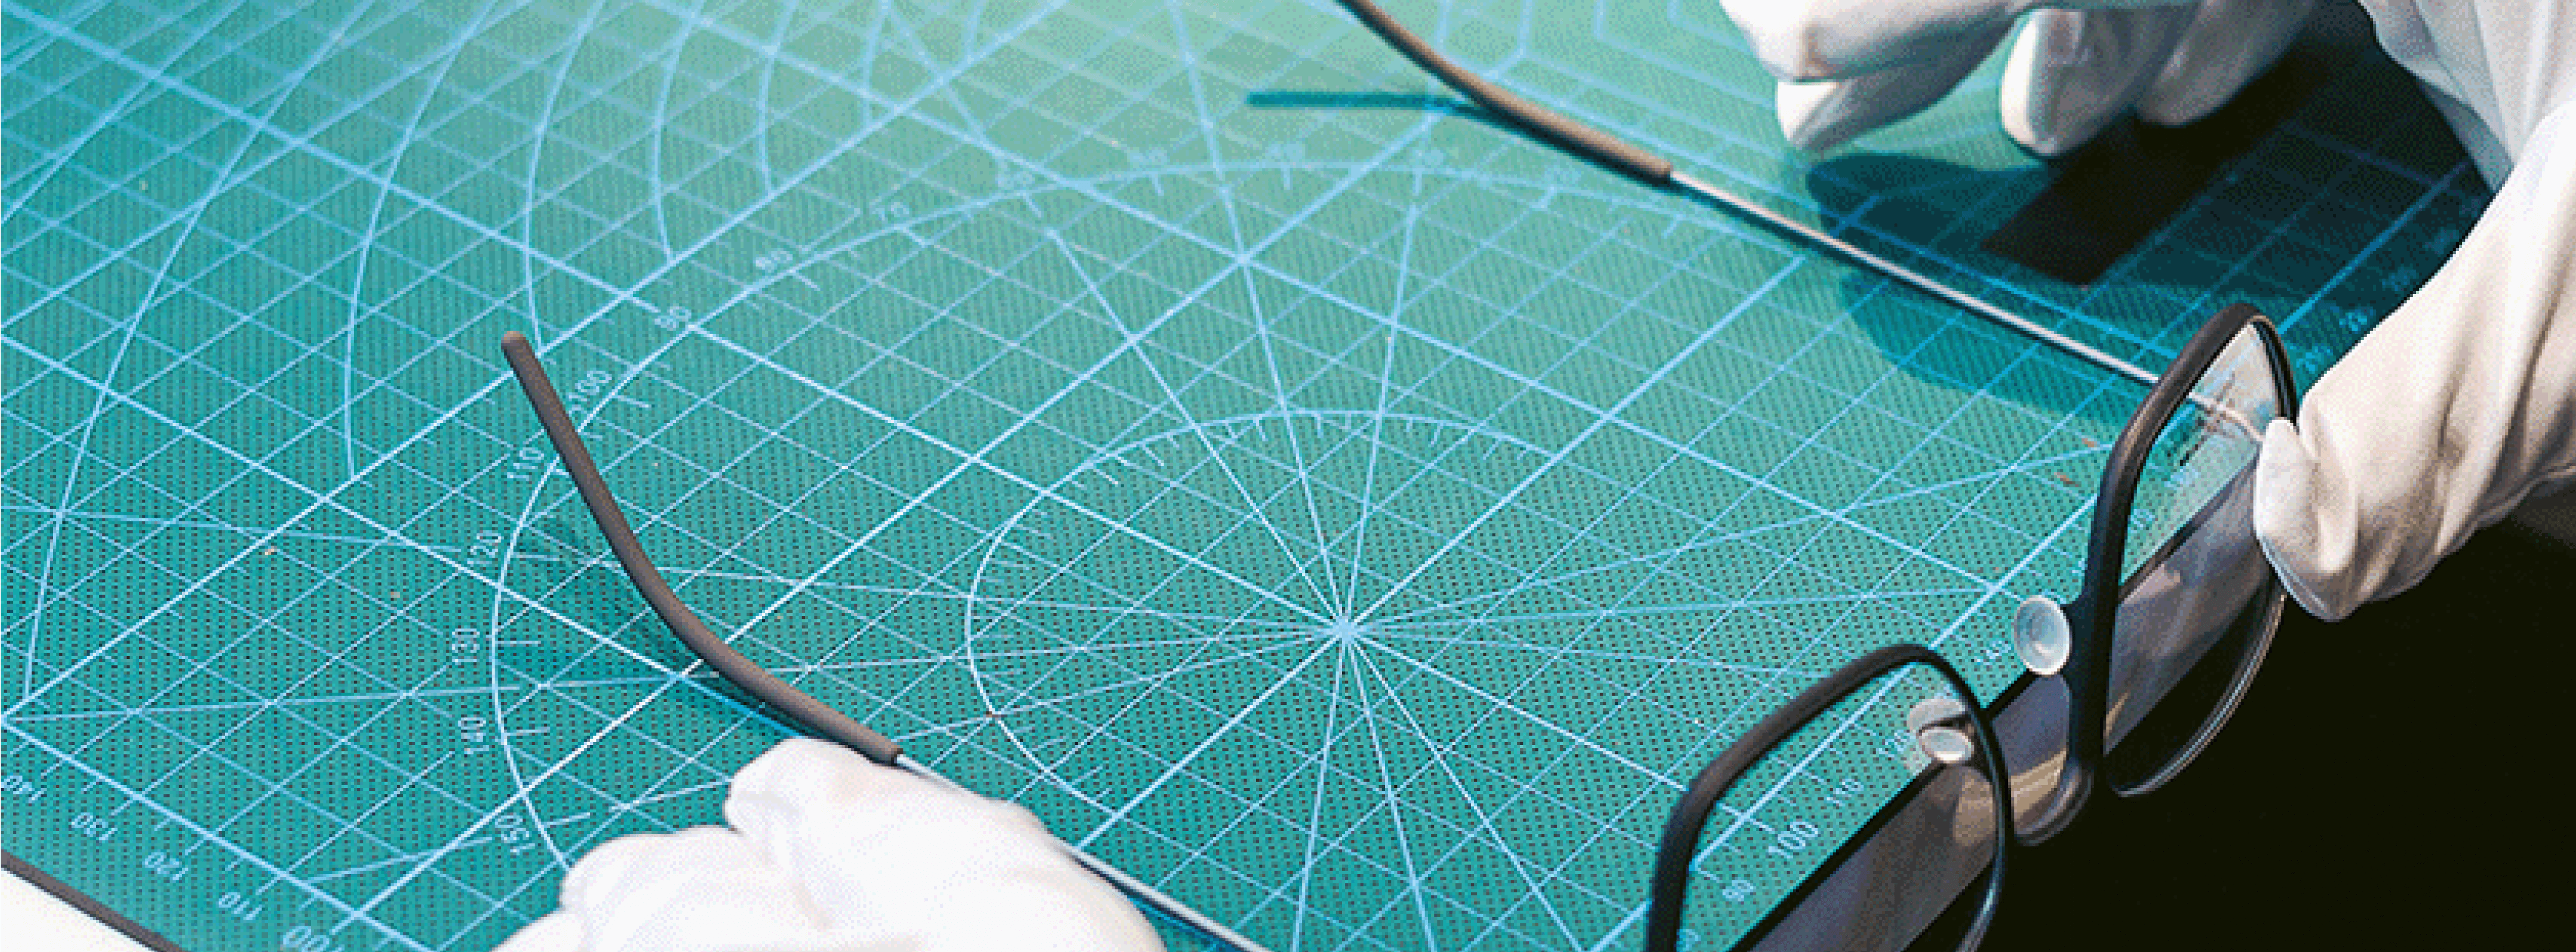
Always trace the lens former, or the demo lens, as it has the best reference to the original design.
Do not trace the inside V groove of the front, as the frames are very flexible and this could lead to a deformed lens shape.
We recommend to glaze cold and mount lenses firmly from the reversed side. Check the demo lenses and the lens former for first size references, so as not to have a too small starting point add approx 0.3 for edging.
Pay special attention to the lens axis to keep the original expression of the design and symmetry.
